Intro
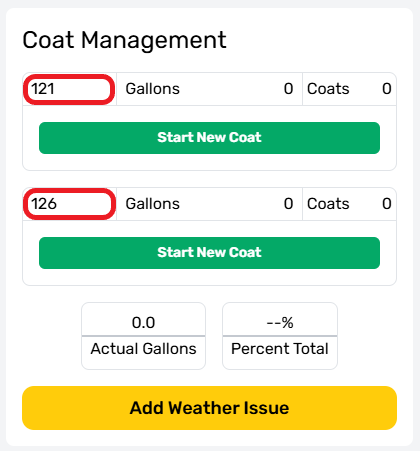
The Coat Management form will only appear on surface treatment Work Orders, like HA5 and Surface Armor. It shows a list of fleet assigned to the Work Order that can use the required material.
Coat Management will only show fleet matching the material on the Work Order. If a fleet is not shown in the Coat Manager, please check the Fleet Tab to ensure it has been added to the Work Order.
Printed Work Orders
Where physical paperwork is required or helpful, a physical copy of the work order will be provided. These paper copies are a useful reference, but are often printed days in advance, and may be out of date by the time work is performed.
Crews should consult the web app before beginning work, it will have the most current information and notes available for key decisions.
Tracking Coats
The Coat Manager tracks the total time taken for each coat, and the amount of material remaining in each fleet. It will show the amount of material used at the end of each coat. Any crew member can start or complete a Coat, but the Foremanis responsible for the accuracy of all data provided at the time of CheckOut.
Start New Coat
To start a coat, select the “Start New Coat” button for the fleet you are operating.
New Coat Menu
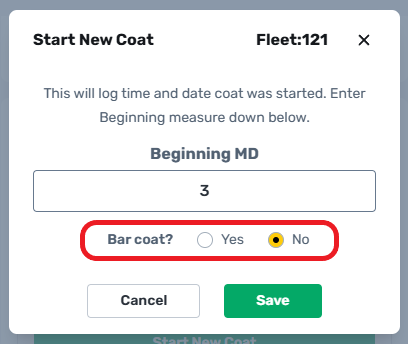
The “Start New Coat” Menu appears each time the "Start New Coat" button is selected. It shows the Fleet Vehicle’s information, along with two entry fields required to begin.
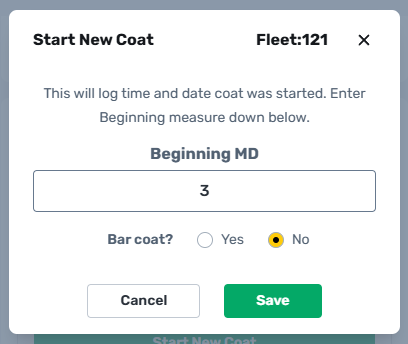
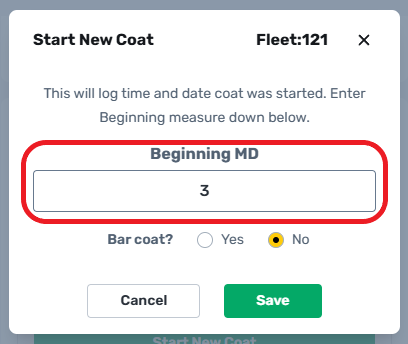
Beginning Measure Down
The "Beginning MD" is the initial Measure Down taken from a designated measuring point down to the level of the material remaining in a tank. By default, the first coat of the day will display the beginning measure down at three inches.
Bar Coat Toggle
The Bar Coat toggle lets the system know which application method is being used. Surface treatments can be laid down using the Applicator Bar, or the Applicator Wand. The Bar Coat Toggle should set to "Yes" if the bar was used during any part of the coat. Each method has different allowances for Variance and Coat Time, so it's important to make sure that the bar coat setting is correct for each coat.
“Save” To Begin Coat
Select "Save" once the start coat information has been provided. This will start the coat timer automatically. Working times are recorded for the current active coat, but users have the option to adjust these times later to correct inaccuracies.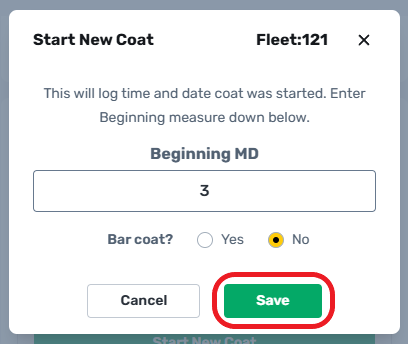
Active Coat Indicator
Only one active Coat is allowed for each fleet at one time. If there is an active coat in progress, the “start new coat” button will be replaced by a selectable coat information panel.

Coat In Progress
While a Coat is in progress, its info panel shows as green. Only the start time and completion percentage are available while a coat in in progress, the rest of the panel's information will be filled in after the coat is completed.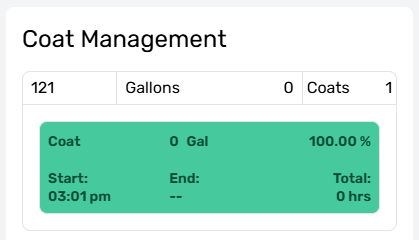
End Active Coat
To complete an active Coat, select the green information panel. A more detailed version of the coat information menu will be displayed. This menu shows all the information provided at the start of the material coat, along with several new fields.
Error Warning
Any issues with the current coat will be shown across the top center in red text. The current coat cannot be saved while an issue is displayed.

Ending MD
The “Ending MD” field is short for the Ending Measure Down and must be taken by hand from the designated measuring point on an Applicator Truck to accurately complete a coat. This information is required before the coat can be saved.

Actual Gallons
The total gallons counter will update to show the Actual Gallons used after the “Ending MD” field has been entered.

Coat Number
The “Coat #” is used to count and coordinate coats over large areas. Typical HA5 applications require two coats in a Service area to be considered complete. When multiple trucks work together to complete a single Coat, they will use the same coat number. This is most common when servicing a parking lot or large subdivision.

Start & End Time
The “Start Time”, “End Time”, and “Total Time” fields are filled in automatically based on when the coat was started and ended. If these times are not accurate for any reason, they can be manually updated. It’s very important to ensure that coat times are recorded accurately, this helps know how much cleaning and preparation time was required, what amount of time that a coat needed to dry, how much time the last coat had to cure before sunset, and the effectiveness of each working crew. By having accurate times, we can improve our Performance targets, understand our operating efficiencies, and identify potential warranty issues.

Edit & Correct
Manual adjustment of coat times is allowed by the system, but these actions are tracked for auditing purposes. The assigned Foreman is responsible for accurate reporting of this information at the time of CheckOut. It is critical to ensure that these times are recorded accurately.

Delete Coat
Coats started in error can be deleted using the delete icon at the top right of the menu.

Saving The Coat
When all required fields have been provided, the “Save” button will allow the coat to be completed.

Completed Coat Indicator
Once completed, a Coat turns red and all available panel information is displayed. This process is repeated until all required materials have been used, or the Work Order is finished.

Material Totals
The Actual Gallons used, and Percent Total, are displayed beneath the Coat Management panels and are updated every time a Coatis completed by each assigned fleet. These two fields help track progress for the Materials Tab as a whole. This helps track materials use on larger Work Orders like the one below.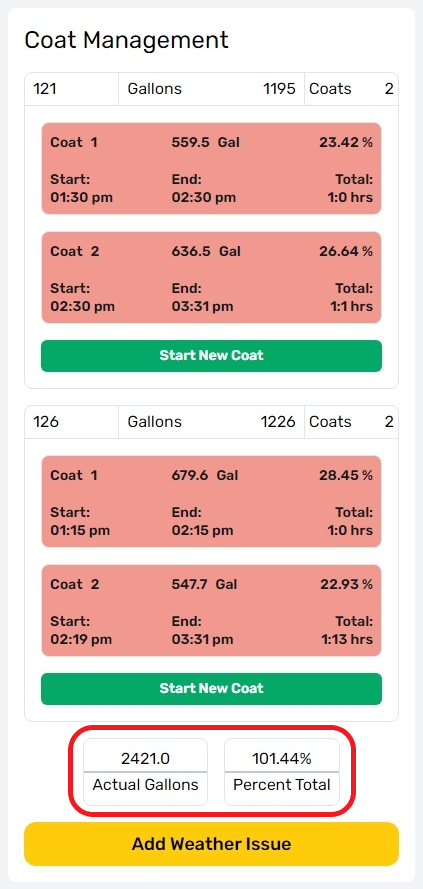
Add Weather Issue
The “Add Weather Issue” button is available to all users with access to the work order. A weather issue is required if a work order is not completed as scheduled due to weather conditions. It is important to add a weather issue when it is known that no further materials can be applied to a work area.
Weather Issue Reporting
Common weather issues are caused by rain or wind, but other factors like temperature or humidity can also affect the completion of a work order. Weather Issues should be reported as soon as the decision is made to stop work and before leaving the work area.
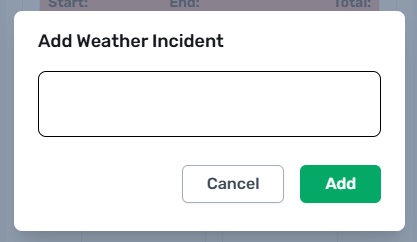
Weather Incident Notes
When selected, the “Add Weather Incident” notes field will appear. Please indicate the type of weather issue, the work areas that were completed (including coat information if applicable), and what areas still need completion.