Prerequisite Content Recommended
This article assumes familiarity with all articles under the Schedule & Work Orders, and Projects Module sections. Read those articles before this one for the best experience.
Intro
The Calendar Module shows the current Schedule in greater detail than the Schedule Module Project Managers can see how Work Orders relate to each other, and receive additional insights about the weather, crew rosters, and other concerns. The Calendar can view and modify these events at a high level, allowing Project Managers to make proactive decisions about individual work orders, or the structure of entire workdays, and execute these decisions quickly.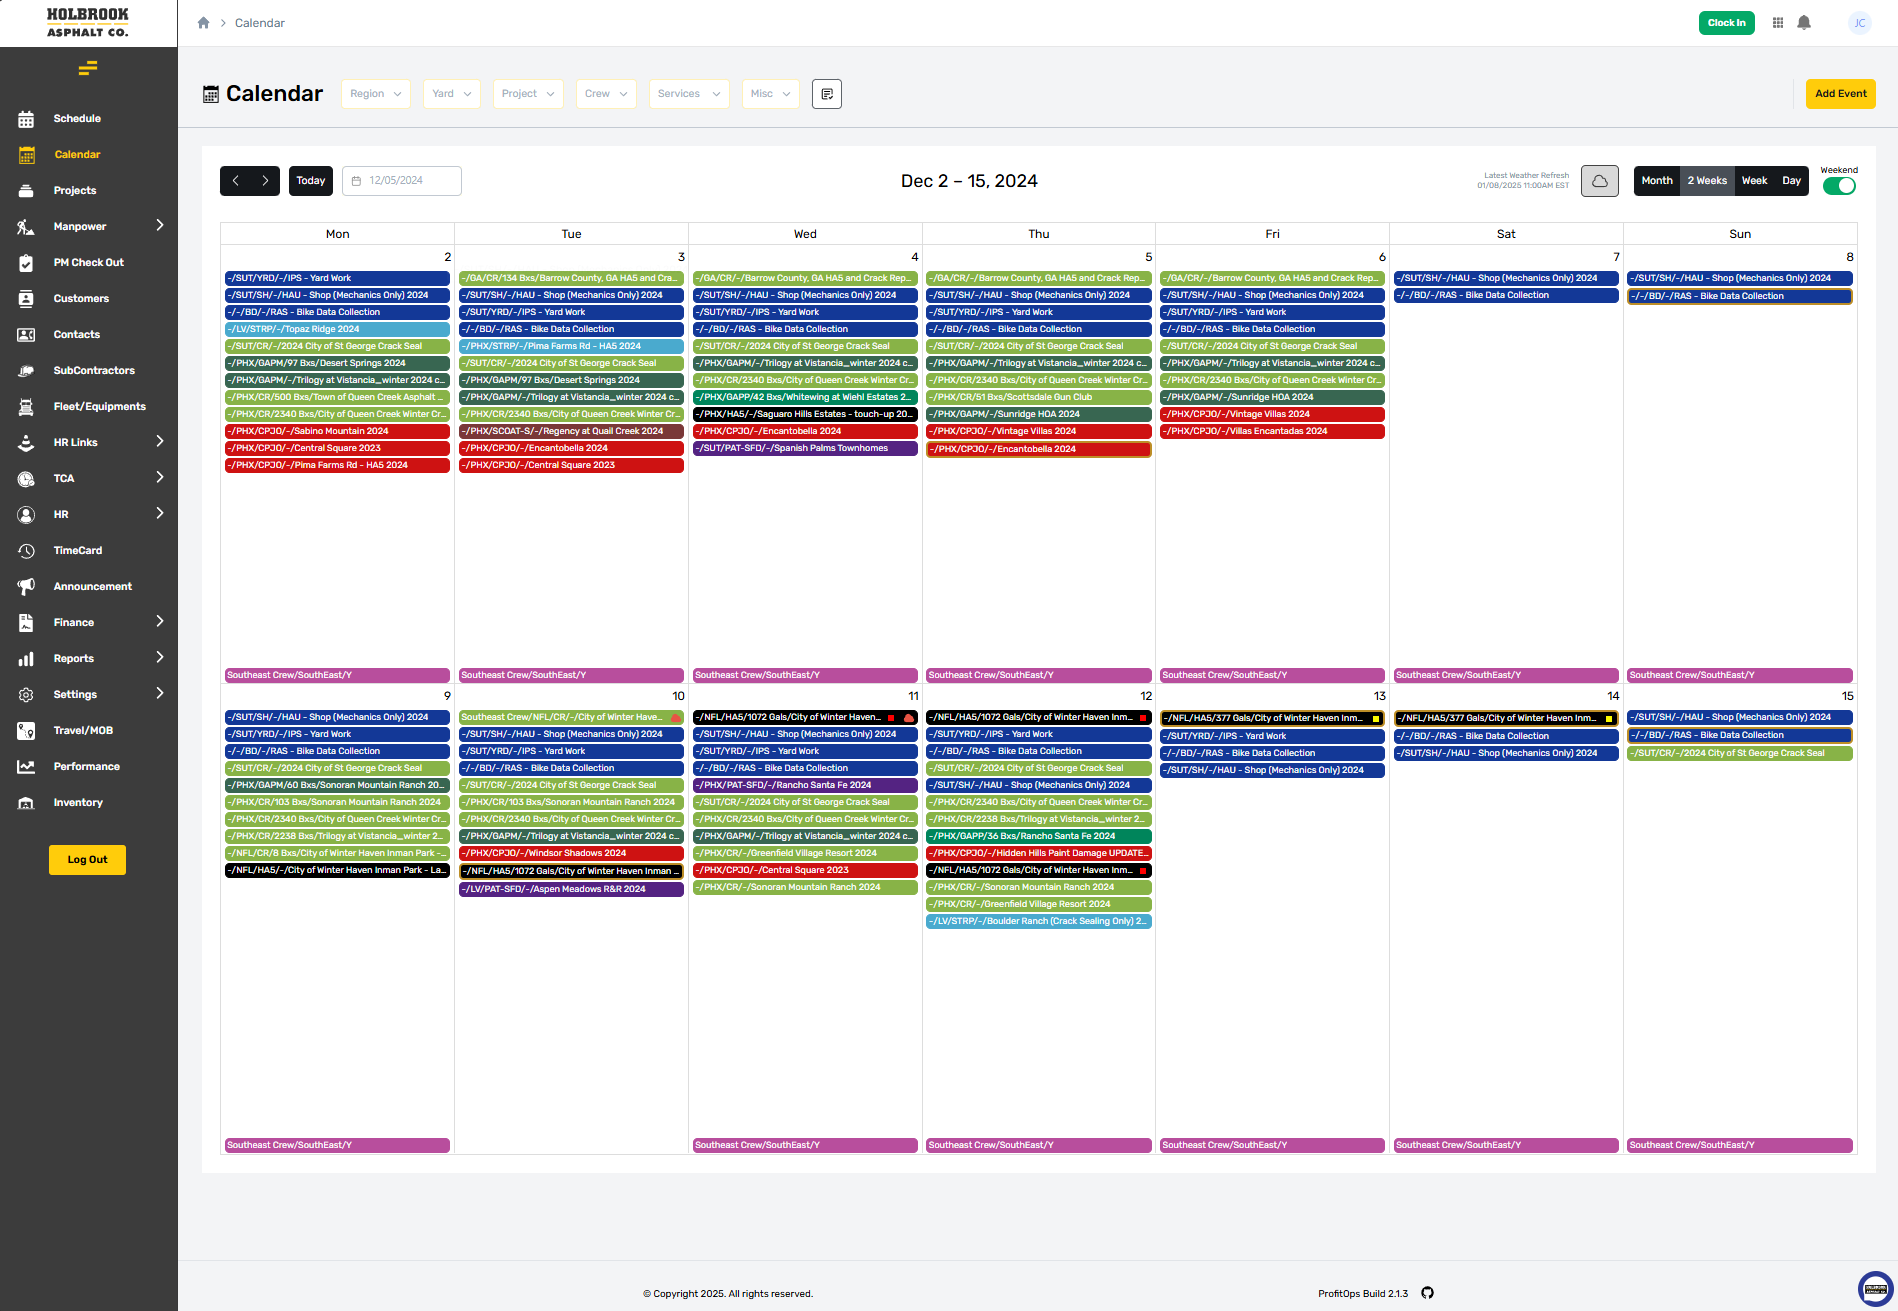
Calendar Filters
The available filters for use on the calendar are shown at the top left, you can learn more about filters and their use here.
Add Event Button
The Add Event button, located at the top right of the filter bar, allows users with permission to create customized user events for individual or public view. Custom events are indicated with a peach color on the calendar but are only visible on the calendar. These events are planning aids that help deal with complex data not handled in other modules or using available tools. You can learn more about these events here.

Generated Events
Generated Events are created automatically based on actions taken in other modules, and include things like:
Work Orders - Which define a Service to be performed at a given location on a specific date.
MOB’s - Which show crews or equipment currently Mobilized to a specific Region, affecting labor and fleet assignments.
Time Off - Showing which users are not available for assignment to any work order and for how long.
Transport - Showing MRP transport orders, their load, route, and MRP data.
Calendar Header
Located at the top of the calendar view is the header, which controls the dates displayed, and the blocks of time in which these dates can be displayed. Note viewing dates in larger blocks, like the “2 Weeks” and “Month” option, may not work well on smaller devices.

Left Side Controls
The controls at left of the header contain a date selector, which is broken into three parts.

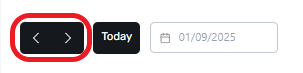
Navigation Arrows
Navigation arrows advance or retard the current date by one interval based on the date block currently being viewed. The default block is two weeks, so selecting these arrows will shift the view by two weeks into the future or past.
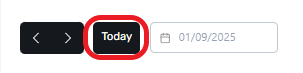
The “Today” Button
The Today button will shift the calendar to show the current date in the selected date block.
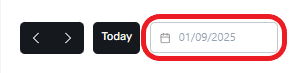
Date Picker
A date picker is also available for manual date selection. Choosing a date manually will adjust the current view to show that date or range in the most relevant block.
Header Center
The Center of the calendar header shows the range of dates available in the currently viewed date block. This will adapt if a different view is selected to always show the complete range on the screen.

Header Right
At the right side of the header are the weather and date view controls. These controls help manage the amount of information shown on screen, and control external data sources like the weather.

Weather Data
A weather data stamp shows the current age of weather information displayed. If this data is too old, then the cloud icon can be used to manually refresh weather data for the work orders shown in the current view. Weather data for all scheduled work orders occurring in the next 30 days are refreshed automatically at regular intervals.

Date Block
Next to the weather refresh button are the date range views. The calendar module shows a two-week range by default, but this can be changed to show calendar events for the entire month, one week, or single day intervals as needed. This can be helpful for planning farther into the future, or for more detailed views of large days.

Weekend Toggle
The weekend toggle will hide Saturday and Sunday from the selected view.

Calendar Days
Regardless of the view, the current date will always be reflected with a light-yellow background.
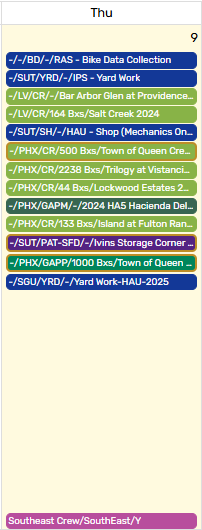
The date currently selected will be shown with a light blue background.

When the current date is selected, these two colors will overlap.
.png)
Hover Over Info
Multi-day views often compress an event to cut off all its information. Any event can be hovered over with a mouse pointer to expose this hidden information.
.png)
Calendar Events
All calendar events are shown as selectable pills within the day that they are scheduled for, and in the order that they were created, which is reflected by the work order ID.
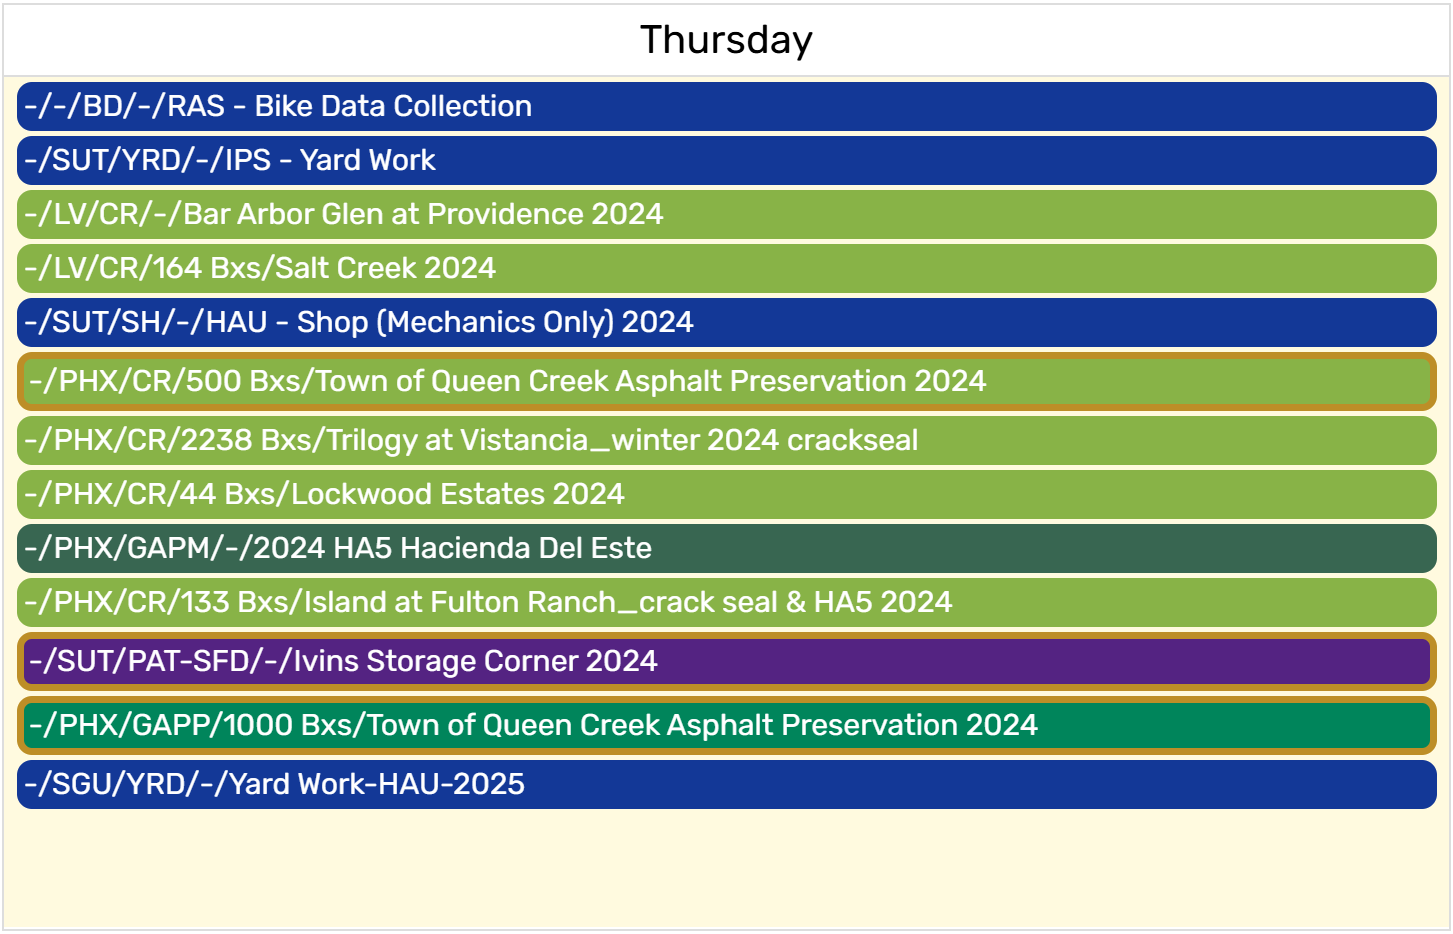
Event Colors
All events use a standardized color system for easy identification. These colors indicate the service related to a given work order and are consistent across all modules. Note that the golden “Pending” border can appear around any of the colors and indicates specific details are not firmly established and could change.
.png)
Event Pills
Event pills show highly summarized information that is designed to be easy to skim, though users need to know the format to understand what is being communicated. The following sections detail event summaries and explain how to read them.
.png)
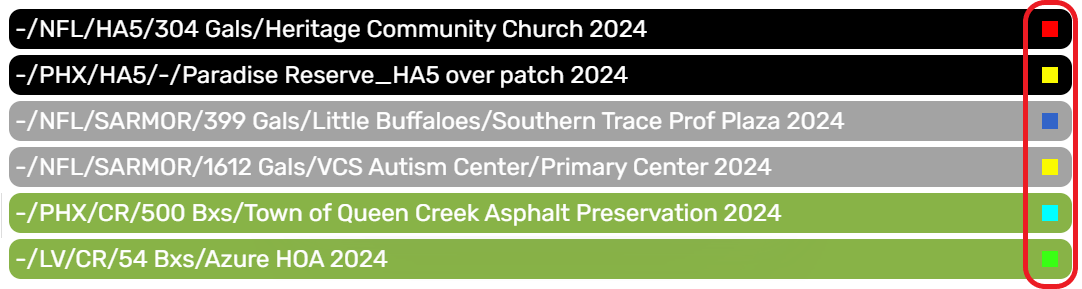
Day Colors
Work orders are assigned a day color as needed and will only appear on work orders where they have been set. These colors help match a work order to printed area maps and property notices issued in advance. Day colors are not related to service colors and are tracked separately. These colors will appear on the work order itself and can only be changed from within the Project Module.
Day Warnings
Day warnings appear when a priority issue is detected or reported. These alerts provide a quick way to identify calendar events that need attention, allowing Project Managers to prioritize their valuable attention according to the greatest need.
Weather Alerts
Weather Alerts appear when weather forecasting falls out of tolerance for the material or worker safety.

You can find more information about weather tolerances in the Event Cards Section below.
Calendar Shorthand Format
Calendar Event Shorthand Format uses short acronyms to show as much information to the user as possible. This allows the calendar to more easily adapt to large or complex event details, especially on days with a large number of events.
Format Example
The format is as follows:
[Crew] / [Region Code] / [Yard Code] / [Service Code] / [Material Count] / [Project Name]Blank fields are reflected with a
/ - /.
This means a pill showing the following information:
-/AZ/PHX/GAPP/54 Bxs/Town of Queen Creek Asphalt Preservation 2024
Translates to:
-/a work order with no crew assigned.AZin the Arizona region.PHXlocated at the Pheonix Yard.GAPPrequesting the Gap Patch service.54 Bxswith an estimated 54 Boxes of materials.Town of Queen Creek Asphalt Preservation 2024for the project name shown.
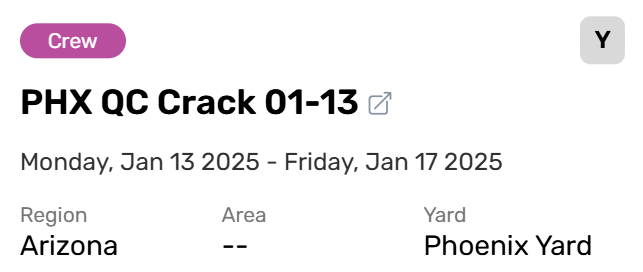
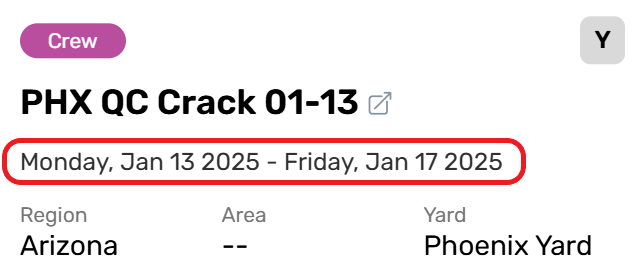
MOB Event Format

MOB crew events are shown in the format:
[Crew Name] / [Destination] / [Crew Assigned (Y or N)]Blank fields are reflected with a
/ - /.
This means a pill showing the following information:
PHX QC Crack 01-13/Pheonix Yard/Y
Translates to:
PHX QC Crack 01-13A crew named “PHX QC Crack 01-13”.Pheonix YardDeployed to the “Pheonix Yard”.YWith crew members assigned.For the dates where this MOB pill is displayed.
Event Cards
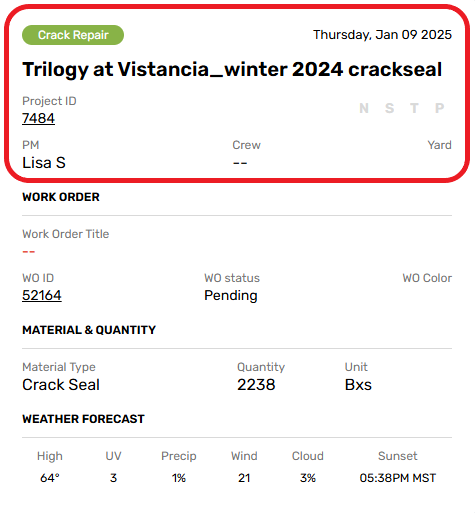
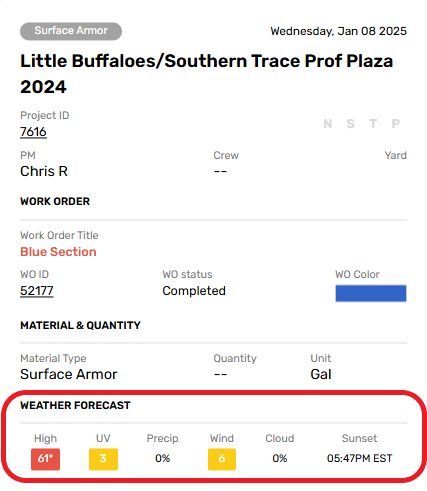
Each pill that appears on the calendar can be expanded by selecting it. This will display an overlapping card showing additional information about that event. Work Orders event cards are divided into three sections.

Project Section
The Project Section is located at the top and shows general project information. The service and scheduled date occupy the top row of this section. Project ID is shown on the section row across from the NSTP Indicator.
NSTP
UNDER CONSTRUCTION
NSTP systems are currently being built and do not function right now.
NTSP is short for Noticing, Shuttle, Traffic Controll, & Encroachment Permit, representing each of the four common Support Services necessary for road work. If a support service is active, it will be reflected here.
The assigned project manager, Crew Name, and Yard are shown at the bottom.
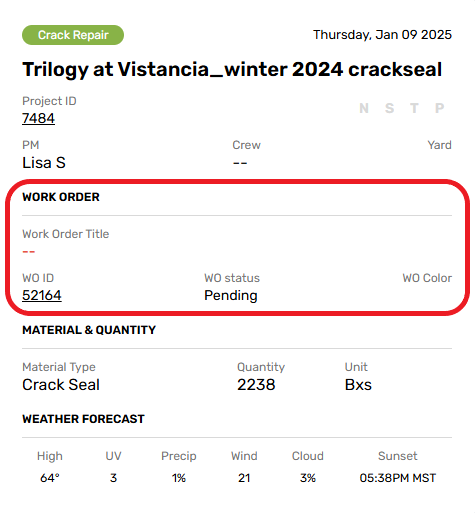
Work Order Section
The Work Order section deals with general work order information. It contains the work order title, if provided, at the top. The second row shows the Work Order ID, Current Status, and WO Color, if available.
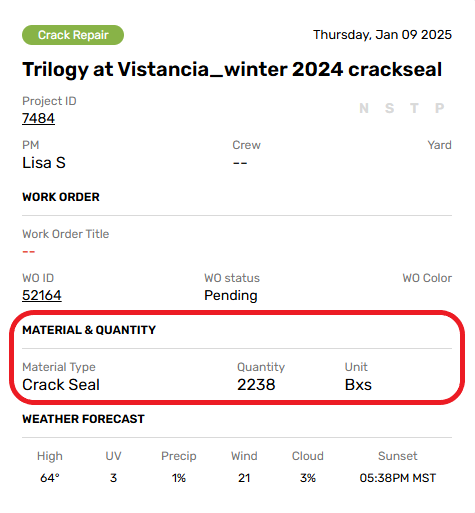
Material & Quantity Section
Material & Quantity shows what resources have been allocate allocated to the work order, with Material Type, Quantity, and Measurment Units listed.
Weather Section
The final row is the Weather Forecast. This powerful feature uses the weather API to collect weather forecasting data about the area where and when a work order is scheduled.
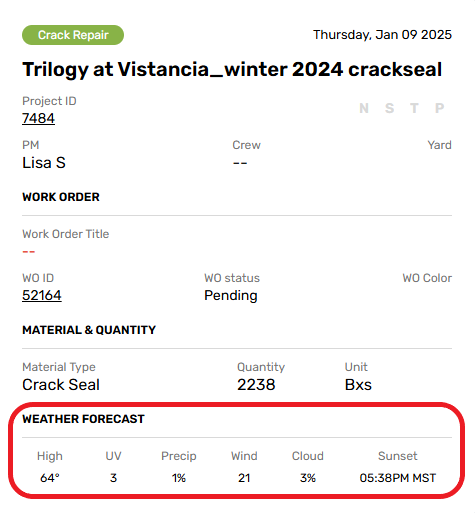
Weather Warnings
If weather conditions are projected to fall outside safe limits for the material or workforce, an alert will be shown, allowing project managers to proactively reschedule work orders before labor and resources are committed to them.
 Material Tolerances
Each Material and Region will have different tolerances for material application. Weather forecasting will indicate these tolerances with color codes:
YELLOW - Indicates a borderline weather condition.
Application is still possible, but conditions could shift and spoil the material.
Work may continue, but crews should be prepared to cancel or adjust work areas.
RED - Indicates a weather condition out of tolerance for the material or for worker safety.
Work should be canceled as soon as possible and rescheduled.
Ideally, jobs should be cancelled before notices are delivered to property owners.
Weather data is refreshed at regular intervals but can be manually refreshed by selecting the cloud icon at the top of the page. Note that some weather conditions, like high outside temperatures, will trigger a safety warning regardless of materials due to the risk of crew heat exhaustion.
Tolerance Charts
Detailed tolerance charts are available for reference below. These charts show the specific thresholds for each weather condition that can impact work.
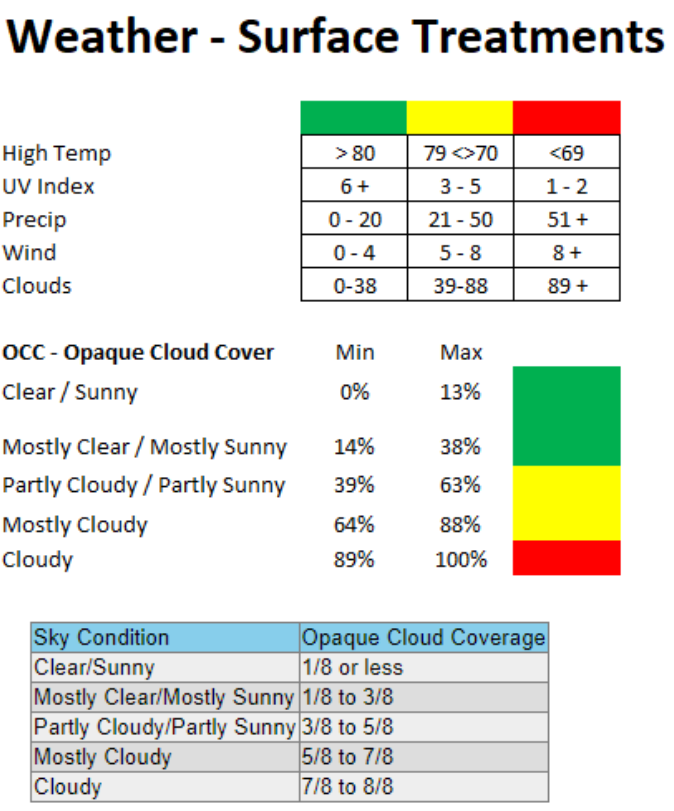
Surface Treatment Tolerance
Surface treatments are the most sensitive, so they have multiple weather checks that can stop work:
Air Temperatures must be above 80F by 10AM local time for applications to properly set.
The UV index must be sufficiently intense to aid in properly drying wet applications.
No rain can fall during the drying process, and roads must be dry.
Wind conditions must be low to prevent overspray or scattering of material aerosols.
Cloud cover must be minimal, direct sunlight is essential to the drying and curing process.
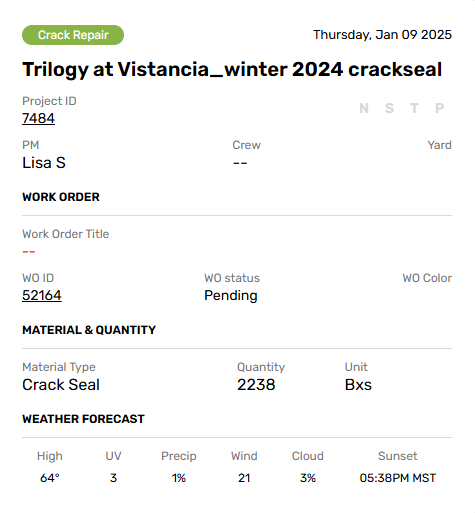
Repair Tolerance
Repair materials are more resilient and concerned primarily with moisture on repair surfaces. Rain will force a cancellation, so these jobs are rescheduled if the change of rain exceeds 51% for any part of a working day.
.png)
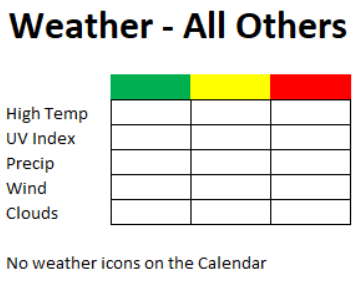
Other Tolerances
No specific policy exists for other materials or work orders, weather tolerance is evaluated case by case. Safety considerations or manufacturer instructions weigh heavily in these decisions.
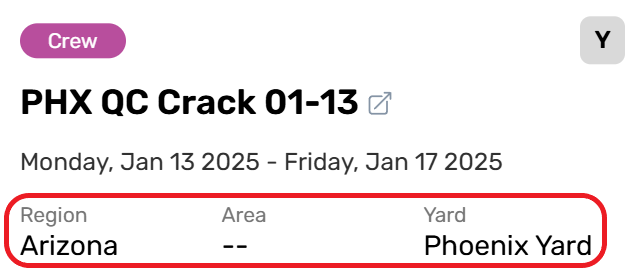
Crew MOB Cards
MOB Cards are divided into two sections, providing additional information about that MOB and the people assigned to it.
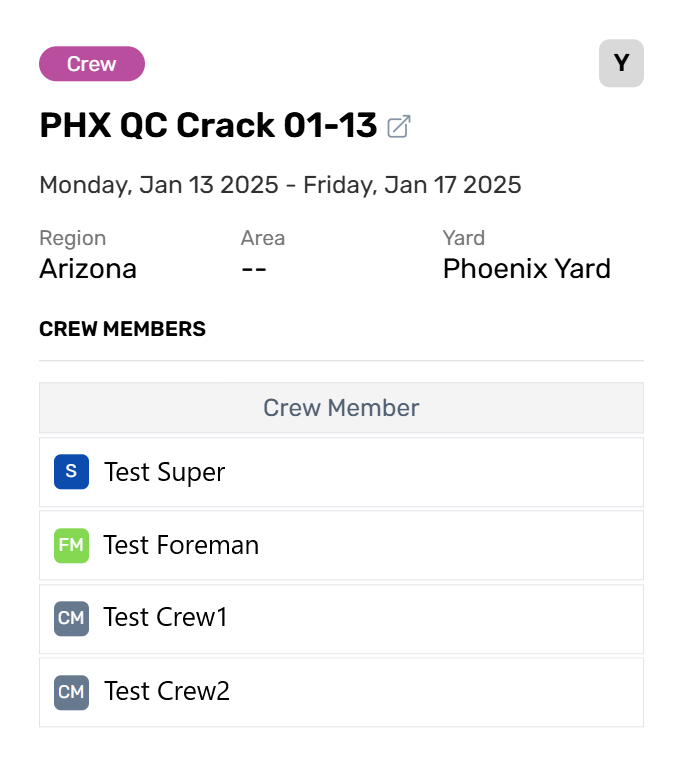
MOB Target
The top section handles general information affecting the whole MOB.
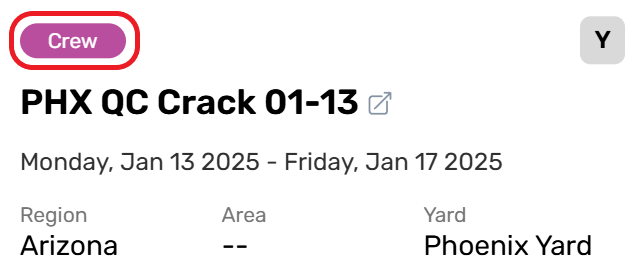
Event Type
The event type provides identifies this event as a Crew MOB.
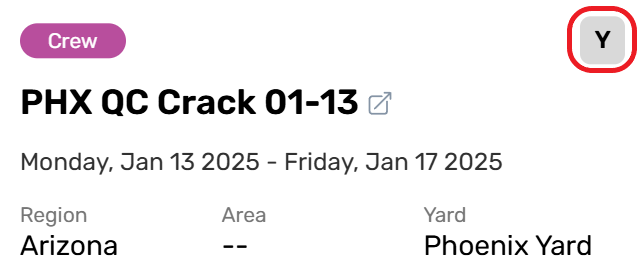
Assignment Indicator
The Assignment Indicator shows that this crew has employees assigned to it.
Crew Name
The Crew Name uniquely identifies this crew. It can be anything but will typically follow a naming convention. Crew names can be selected to open the crew’s record in the Manpower Crew module.
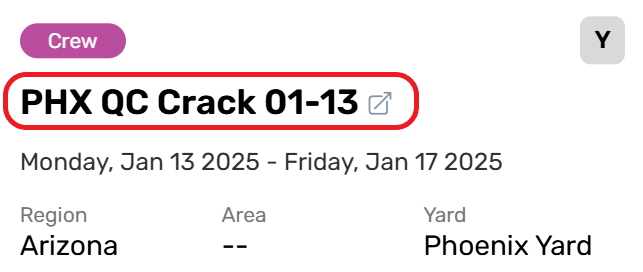
Crew Naming Conventions are as follows:
[Destination] [ - ] [Service] [Deployment Date]
Active Dates
The active date range is defined in the Manpower Crew module but can be seen as a longhand range below the Crew Name. This crew will only be available to use during its active date range and will be automatically withdrawn after the final date.
Destination Info
Destination information will always show a Region. Crews are made available to the lowest defined destination on this line. A crew set to the Arizona region, will be available to the whole region.
This crew was set to the Arizona → Phoenix Yard, so it will only be available to assign to work orders associated with the Pheonix Yard. Other work orders in Arizona will need deferent crews assigned.
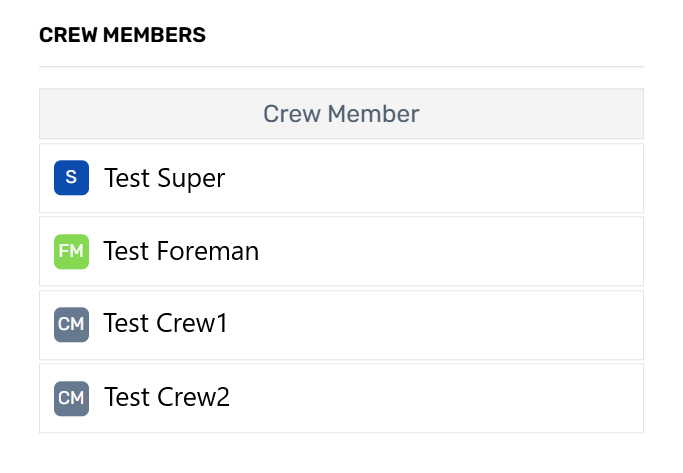
MOB Crew Roster
The bottom section contains the crew roster, showing the persons assigned to the crew mob, and the role of each crew member. This roster can only be changed from the Manpower Crew module, which is documented separately.
User Events
User events can be created manually from the Calendar Module using the “Add Event” button. These events act as planning and note taking aids that are not visible from any other module, they are made available to aid in strategic planning and for internal use only. Users should not try and manage field work with user events; they lack the appropriate resource and communications tools available to work orders.
User events can be set in two categories:
Individual - Where only the user that creates an event can see that event.
Public - Where any Calendar user that matches filter criteria can see the event.
Public events are still not visible from the Schedule Module.
More information about User Events is available later in this article.